

Best Practices for Installing Krause Bricks as pavers
There is a distinct difference between laying standard concrete pavers and working with kiln-fired clay. One is uniform and predictable. The other is organic, tactile, and full of character.
When you specify Krause Bricks for a paving project, whether it is a high-traffic courtyard, a landscape pathway, or an architectural feature floor, you aren't just looking for a hard surface. You’re looking for warmth and variation.
While the fundamentals of site preparation (compacted road base, screeded sand, and drainage) remain the same, getting the best aesthetic result out of artisan bricks requires a slightly different approach to the lay.
Here is how to ensure your project respects the material and achieves that high-end, architectural finish.
1. The Blend is Everything
Because our bricks are fired in traditional kilns, there will always be natural variation in colour and texture between batches. This is the hallmark of a Krause brick, and what prevents a surface from looking flat or manufactured.
To avoid "colour blocking" or patching, never lay directly from a single pallet until it is empty.
The Strategy: Open three or four packs simultaneously.
The Action: Draw bricks from all opened packs concurrently, working diagonally down the stack. This ensures the distinct tonal shifts of the clay are evenly distributed across the entire paved area to create a cohesive, organic flow.
2. Choosing Your Bond
The bond pattern dictates the energy of the space. Because Krause Bricks have distinct dimensions and edges, the pattern you choose will highlight different aspects of the brick.
Running Bond (Stretcher): The classic choice. It creates strong linear movement and is excellent for directing the eye toward a focal point or entrance.
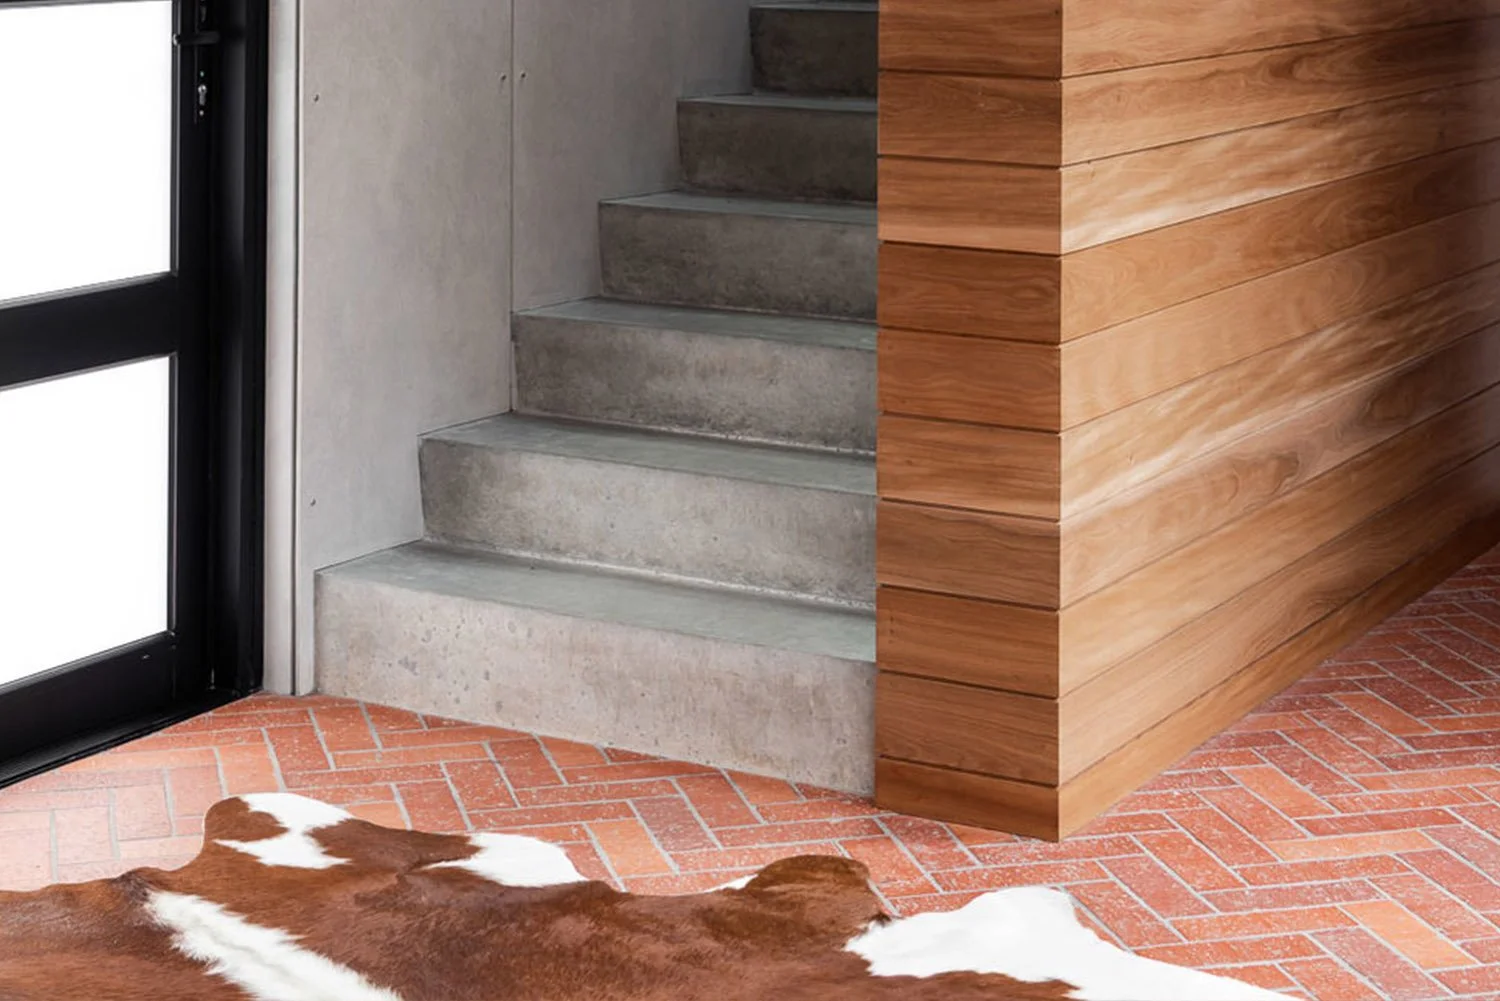
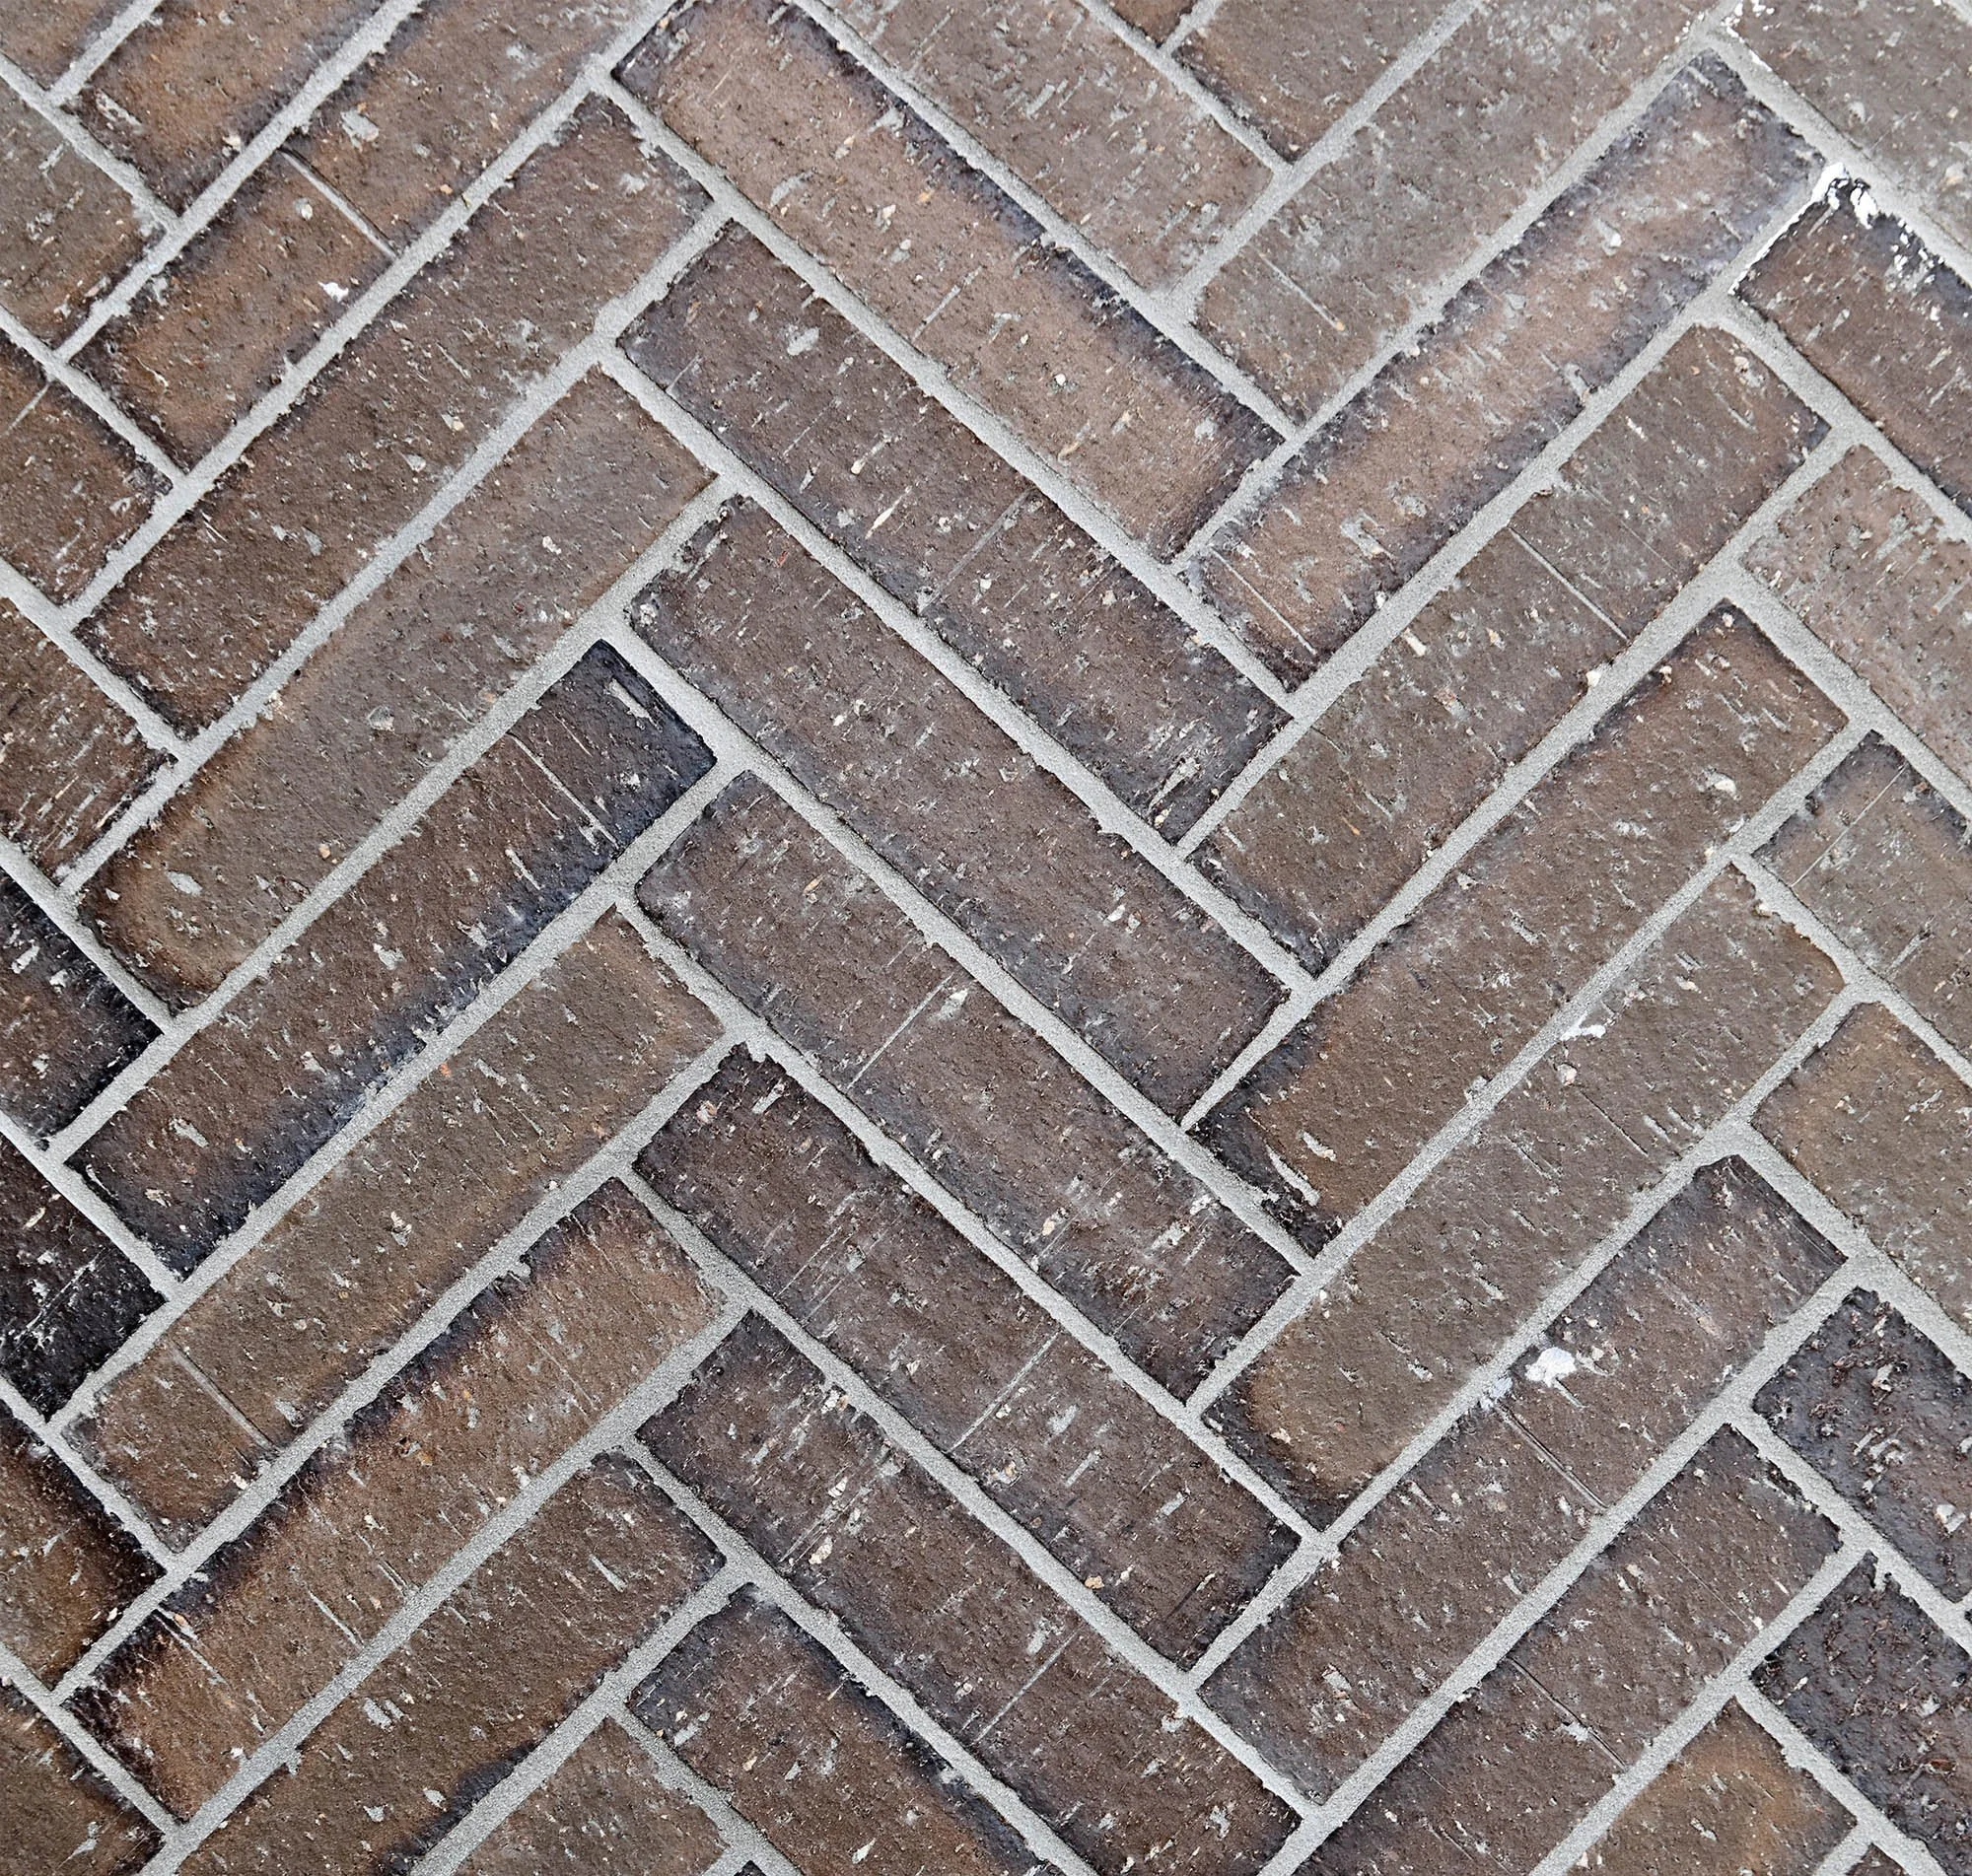
Herringbone: Currently the architectural favourite for flooring. The interlocking 45 or 90-degree pattern offers immense structural stability for vehicular areas. Visually, it provides a rich, woven texture that highlights the colour variation in the clay.
Stack Bond: Modern and minimalist. This aligns the joints in a grid. It demands absolute precision in the lay but results in a very contemporary, graphic look.
3. Respect the Joint
When working with artisan products, the joint spacing is not just a technical gap. It is a design element.
Don't butt the bricks up tight against one another. Clay moves, expands, and contracts. We recommend allowing for a 3mm to 5mm gap between pavers. This spacing allows the jointing sand to properly interlock the units (preventing chipping) and accommodates the slight, intentional irregularities in the brick's edge.
Pro-tip: The colour of your jointing sand matters. A white or grey sand will highlight the individual shape of every brick for high contrast. A sand that matches the clay tone will create a monolithic, continuous surface for low contrast.
4. Compacting and Sealing
Once laid, the compaction process for clay pavers needs to be handled with care to protect the arrises (edges) of the bricks.
Always use a rubber mat or a piece of old carpet beneath the plate compactor. Direct metal-to-clay contact during vibration can scuff the surface texture you have paid for.
Finally, consider the application. If you are using Krause Bricks for an interior floor or an outdoor entertaining area where red wine or grease might spill, a high-quality penetrating sealer is essential. It protects the porous nature of the clay without altering its matte aesthetic.

The Result
Laying artisan bricks is less about rapid installation and more about curation. It takes a little more time to blend and align, but the result is a surface that feels grounded and permanent.
If you are ready to select the right texture for your next project, explore our range or contact the team to discuss custom batches.